


Ritual candles are more than just decorative items; they hold energy and intention. Proper cleansing and storage can enhance their effectiveness and longevity. In this guide, we’ll walk you through simple steps to ensure your ritual candles remain powerful and sacred.
Step 1: Gather Your Materials
To cleanse your ritual candles, you’ll need some basic materials such as salt, herbs (like sage or rosemary), and a bowl or dish for the cleansing mixture.
In addition to the salt and herbs, have a few white candles on hand. White candles are universal for cleansing and can aid in balancing the energies at play.
Don’t forget the importance of your space. Find a quiet area that feels sacred to you—this will help hold the energies and create an optimal atmosphere for your cleansing ritual.
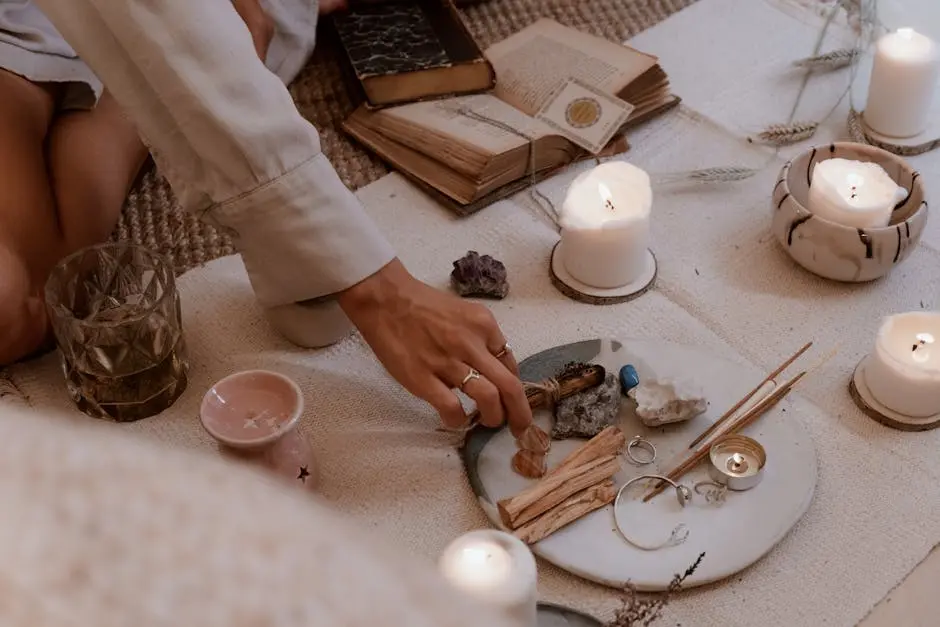
A small altar or table can serve as your workspace. Lay down a cloth that resonates with you, perhaps something natural like cotton or linen.
Step 2: Cleanse the Candles
Begin the cleansing process by setting your intention. Use salt water or herbal smoke to purify the candles. As you do this, focus on clearing away any unwanted energies.
Light the sage or rosemary and let the smoke envelop the candle while you exhale any negativity you wish to release. This ritual is both physical and energetic; make sure you feel the connection.
As you cleanse, silently state your intentions or visualize the journey you wish your candle to take, whether it’s love, protection, or abundance.
For a deeper cleanse, consider embedding your candles in a small bowl of salt. Let them sit in the salt for a few hours, absorbing its purifying qualities.
Once completed, thank the elements you called upon during the cleansing process. This gratitude reinforces your relationship with the ritual.
Step 3: Charge the Candles
After cleansing, it’s time to recharge your candles. You can hold them in your hands and visualize your intentions, or place them in sunlight or moonlight for a natural charge.
Consider using crystals to enhance the charging process. Amethyst or clear quartz can amplify your intentions greatly when placed near your candles.
Recite affirmations as you charge your candles. Affirmations like ‘I am worthy of love’ or ‘I attract positivity’ can resonate powerfully with the flame.
Don’t rush this step. The longer you take to infuse your candles with energy, the more likely they are to reflect your desires when lit in ritual.
Step 4: Store Your Candles Properly
Store your ritual candles in a cool, dry place away from direct sunlight. Consider using cloth bags or boxes to protect them, ensuring they remain clean and undisturbed.
If possible, categorize your candles by their use—love, protection, and prosperity can each have their storage areas, making it easier to find what you need in the moment.
Using these protective materials will help avoid scratches and dust, preserving their appearance and energy for the day you need them most.
Regularly check on your candles, ensuring they are undamaged and ready for use. A little maintenance goes a long way in your spiritual practice.
Final Thoughts on Cleansing and Storing Ritual Candles
By following these steps, not only will your ritual candles be cleansed and charged, but they will also be stored appropriately for future use. Remember, ritual is about intention, so always approach the process with mindfulness and care.